NAO setup and deployment
Before you can deploy the NaoTH Code to the robot needs to be set up in a special way. This is a one time setup which replaces the operating system that comes with the robot and additionally sets up some libraries we need on the robot.
Setup Routine for V5 Robots
First we need to set up the operating system with the image provided by softbank robotics. You can download it from here
This image must be put onto a usb drive. For this you can use the Nao Flasher tool provided by softbank. The Nao Flasher tool expects the usb drive to not have any filesystem. In order to flash the robot, make sure the robot is turned off then insert the usb stick and press the chest button until the blue chest LED's blink. The flashing will take a couple of minutes.
The robot should be in the monkey pose during the flash process. After this is finished you can set the robot upright. If it is the first time the robot is flashed with the image, it will then stand up and calibrate its joints. During the calibration the robot must stand on an even surface.
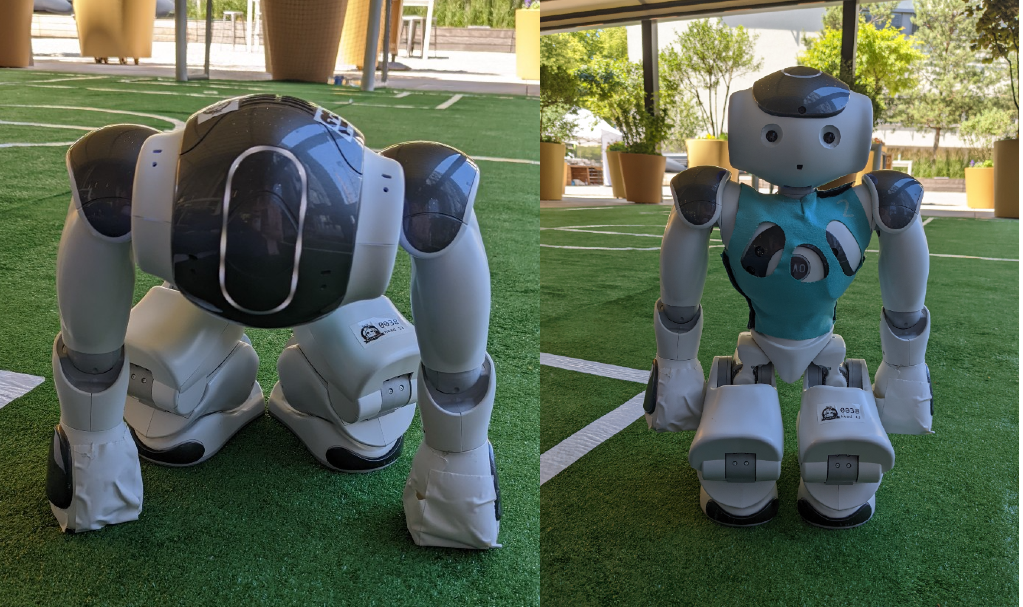
Left: monkey pose. Right: sit pose
The next step is to initialize the robot with the required libs. This can be done with NaoSCP and is described here
After that the compiled robot code can be deployed with NaoSCP as well.
Calibrating Joints
The default software of the robot has an integrated automatic calibration routine for the alignment of the joints. This routine is usually executed only at the first start of a new robot. During the RoboCup games it can happen (and it does happen) that the joints lose their alignment, which might negatively affect all motions, e.g., the walk become a bit more unstable. The calibration values are stored internally and are preserved even when the OS is replaced. The following describes how the automatic calibration routine can be triggered when needed.
Trigger the Automatic Calibration Routine
-
prepare a USB stick with NaoOS Image (as described above) with factory reset.
-
flash the robot:
- turn off the robot
- insert the USB stick with the system
- press the chest-button until it turns blue (this takes about 3s), then release the button
- (the button should blink blue very fast)
- wait until the flashing is done (can take 10 min) (robot in the monkey pose)
- wait until the robor says either
- (A) "Good morning. Please put me in an open space on the floor and touch my head or my bumper, so I can wake up correctly."
- (B) "I'm not safe like this ... etc."
-
if the robot says (A), then the robot is ready to calibrate:
- put the robot on the solid floor (not carper, not table) with enough space around it (50cm) in a crouch position.
- touch robot's head or a foot bumper
- robot will perform a "waking up" procedure
- wait until the robot sits down and says "Thanks, now I feel great."
-
if the robot says (B), then we need to manually delete old calibration files to trigger the calibration routine:
- connect a LAN cable to the router and wait some seconds
- press robot's chest button
- the root will say it's ip-address
- connect to the robot with
ssh - create a new directory (if it doesn't exist)
sudo mkdir /media/internal/diagnostic.bak - move old diagnostic files into the new directory
sudo mv /media/internal/diagnostic_* /media/internal/diagnostic.bak - reboot the robot
sudo reboot - after the startup the robot should say (A)
- go to 3.
-
now the robot is calibrated
- turn off the robot
- proceed with the setup of the Ubuntu system
Reference
New Setup Routine (with custom image)
For the NAO V6 robots we will use a custom ubuntu based image. Each robot has to be set up with this image once. For creating the image see the NaoImage repository in gitlab. (Not public). The instructions for building and deploying the image can be found there.
Deploy Code to robot
TODO: explain network stick
TODO: explain deploy stick
TODO: explain deploy routines?